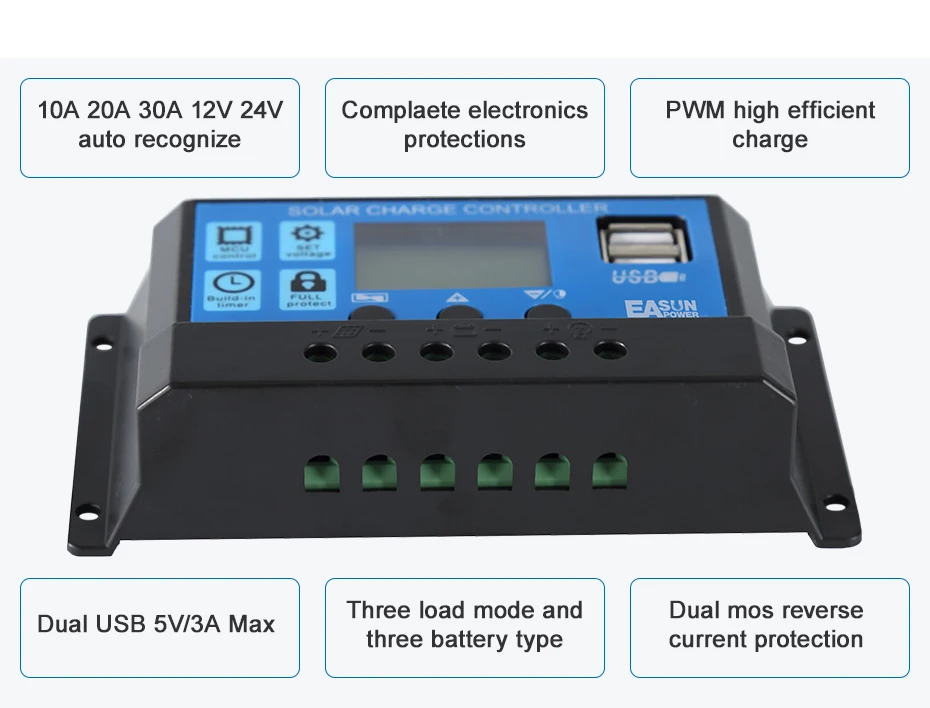
Features:
1.Build-in industrial micro controller.
2.Big LCD display,all adjustable parameter.
3.Fully 4-stage PWM charge management.
4.Build-in short-circuit protection,open-circuit protection,reverse protection,over-load protection.
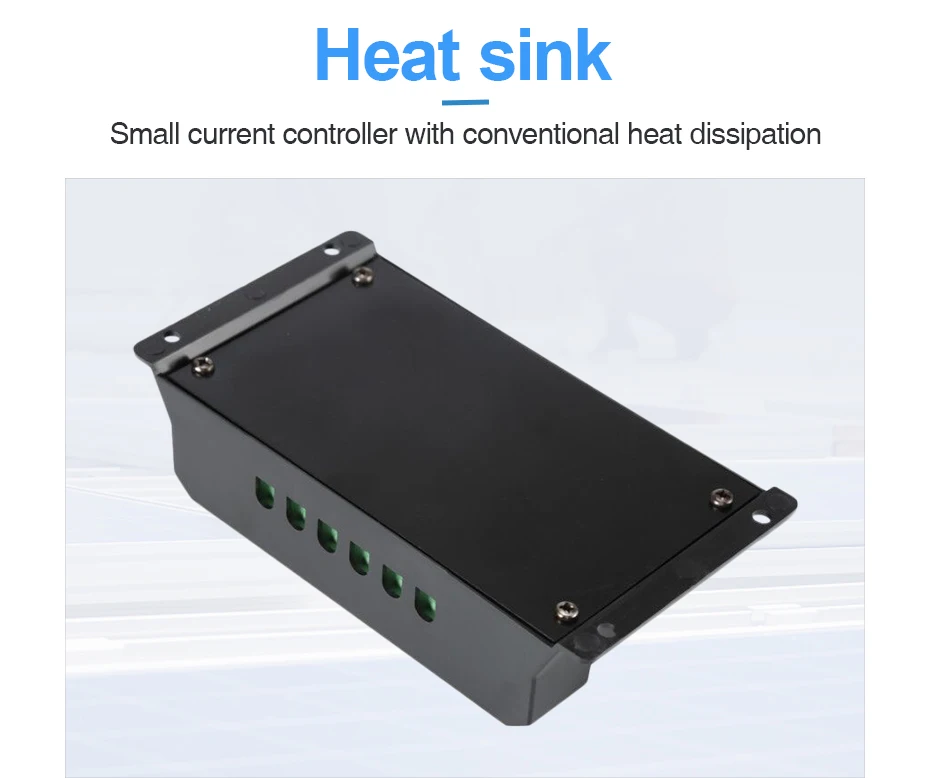
5.Dual mosfet Reverse current protection ,low heat production.
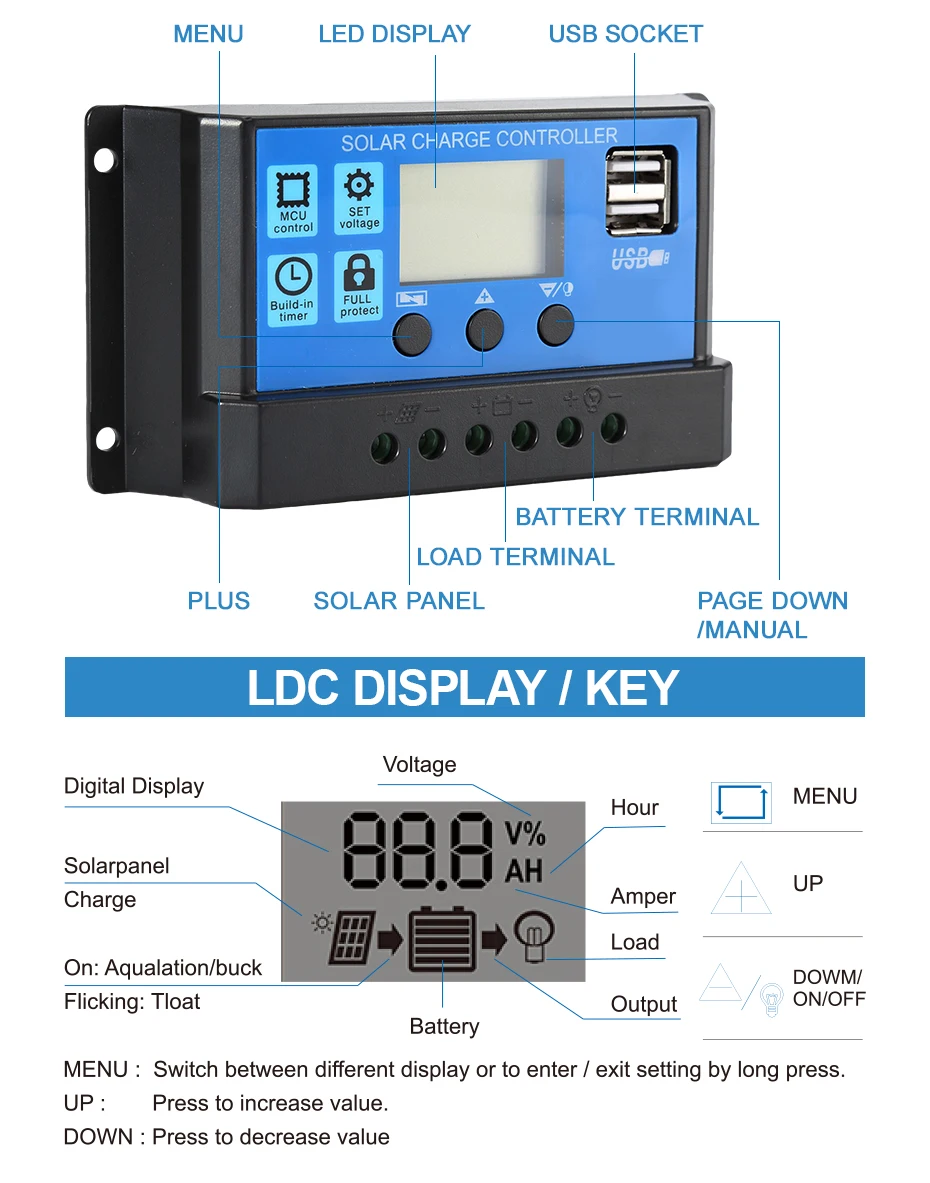
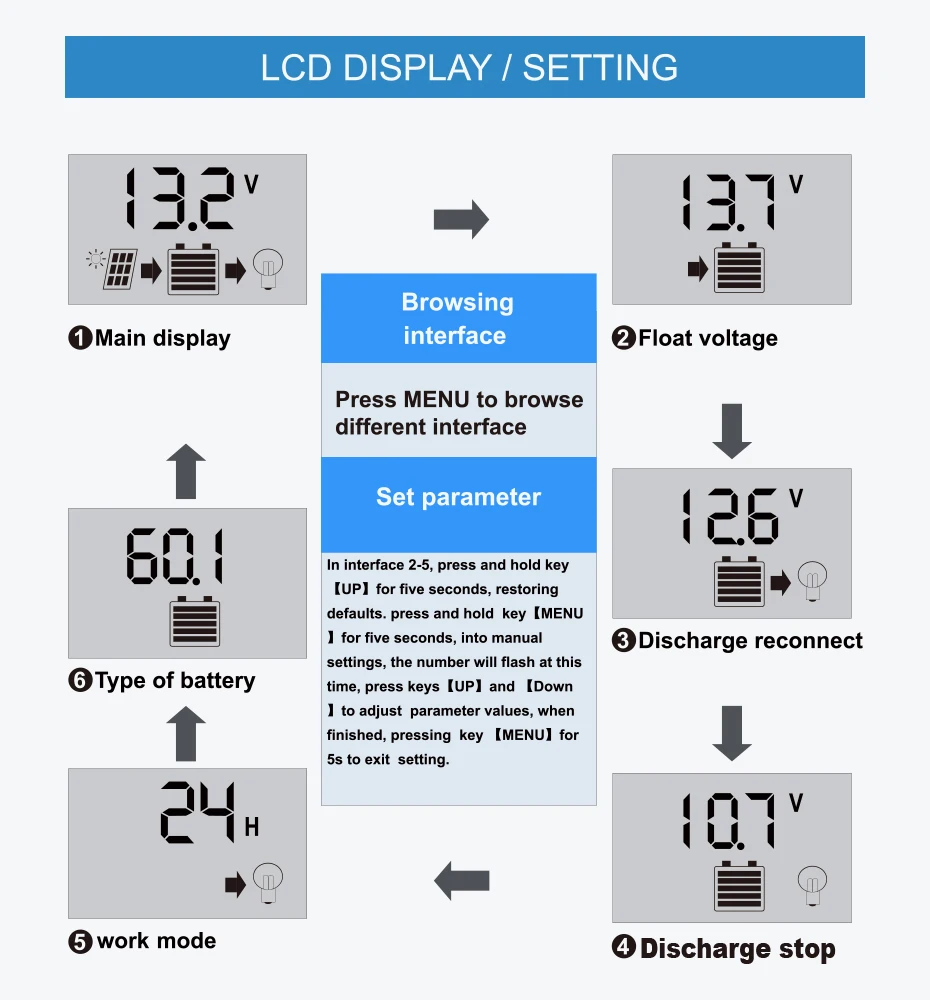
Display:
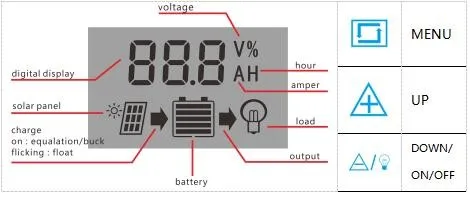
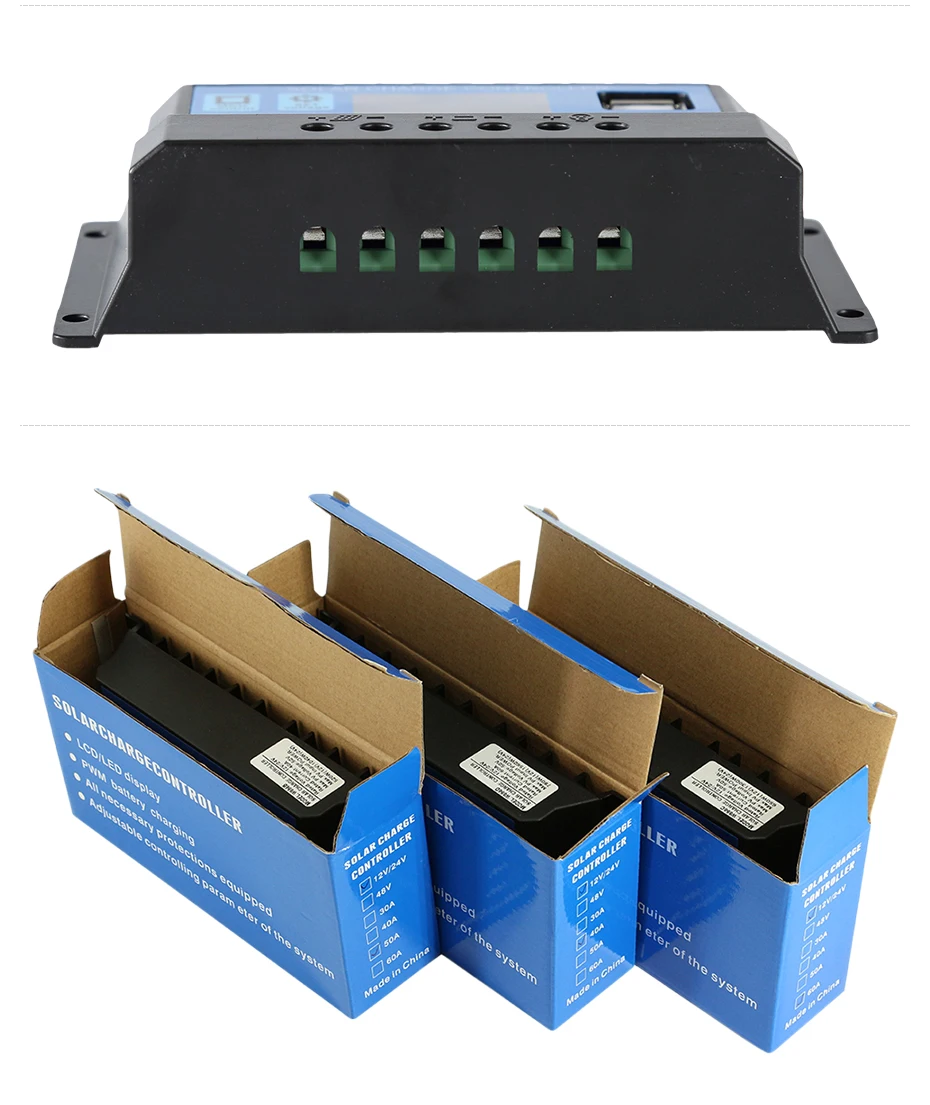
MENU:switch between different display,or to enter/exit setting by long press.
UP: press to increase value.
DOWN:presss to decrease value.
Setting:
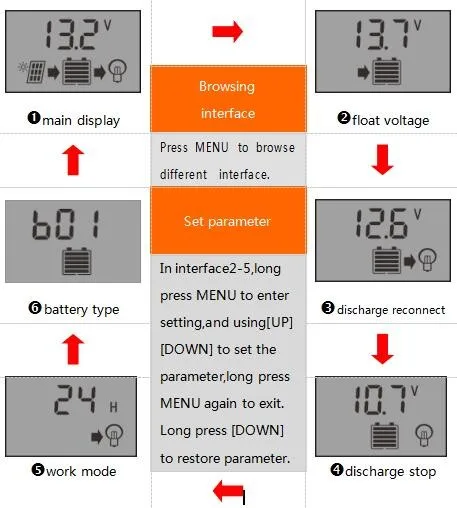
1.press the [Down] button to ON/OFF load manully at main display.
2.the work mode is working as below:
[24H] load output 24hours
[1-23H] load on after sunset and closed after setting hours
[0H] Dusk to dawn
Parameter:
|
MODEL
|
ICharger PWM N1210
|
ICharger PWM N1220
|
ICharger PWM N1230
|
|
Battery Voltage
|
12V 24V Auto
|
|
Charging Current
|
10A
|
20A
|
30A
|
|
Discharging Current
|
10A
|
10A
|
10A
|
|
Max Solar input
|
50V(for 24V battery) 25V(for 12V battery)
|
|
Equalization
|
14.4V(Sealed) 14.2V(Gel) 14.6V(Flood)
|
|
Float charge
|
13.7V(defaul,adjustable)
|
|
Discharge stop
|
10.7V(defaul,adjustable)
|
|
Discharge reconnect
|
12.6V(defaul,adjustable)
|
|
USB output
|
5V/3A
|
|
Self-consume
|
<10mA
|
|
Operating temperature
|
-35°C~+60°C
|
*all red color voltage X2 ,while using 24V system.
Connection:
1.Connect the battery to the charge regulator - plus and minus.
2.Connect the photovoltaic module to the regulator - plus and minus.
3. Connect the consumer to the charge regulator - plus and minus.
The reverse order applies when deinstalling!
An improper sequence order can damage the controller!

These are cheaper Pulse Width modification chargers for most lower end applications.
https://en.wikipedia.org/wiki/Pulse-width_modulation


 Get a new hobby instead of watching tv or playing on devices
 Cover it up
 Sell your car for a higher price